
Elevation Hatch
Available in: Architectural
This is command is designed for adding hatch patterns to elevation views as it automatically hatches around openings, although it can be used to automatically hatch any area enclosed by lines.
Select the 'Elevation Hatch' button  and the command prompt reads:
Give Hatch Point Inside Boundary:
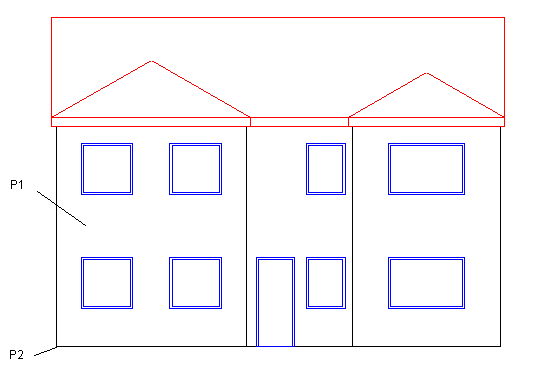
Click in the area to be hatched, for example 'P1' in the diagram.
The command prompt now reads:
Give Hatch Origin Point:
Click on 'P2' . The following dialog box appears.
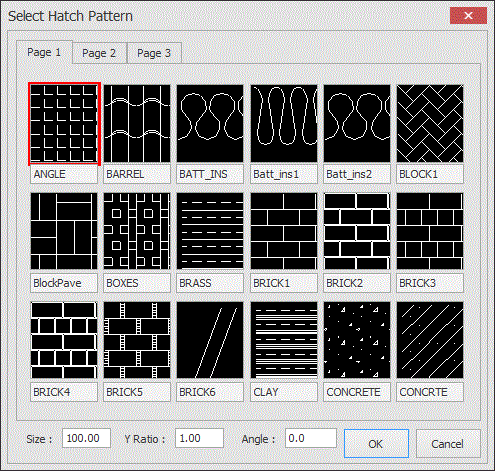
The available patterns are displayed across a number of pages.
At the bottom of the dialog box are three insertion modifiers.
Size - This is the default size of the repeatable pattern, for example you could enter 225 (mm) if using a brick pattern.
Y Ratio - This allows the pattern to be distorted in both the horizontal and vertical axis.
Angle - This is a rotational angle applied to the pattern.
To select a pattern simple click on the thumbnail picture, set the insertion modifiers as required and click OK to complete the hatch.
The hatch pattern is not linked to the area hatched.For information on modifying a hatching see Modifying/Moving Hatching.