Product Documentation
Draft it Help
Select the category below to quickly find the help you need.

Available in: FREE, Plus, Pro, Architectural
Arrow Key input uses the keyboard arrow keys to force dimensional input in a specific direction. Using this function temporarily overrides the current snap or input option so it can be used to quickly input orthogonal dimensions.
To use Arrow Key input the program must be expecting the user to specify the 2nd or subsequent point in a command. i.e when drawing a polyline the 1st point must be indicated before the feature can be activated. The following set of pictures shows how this feature can be used to create an outline.
Select the Polyline button
 and click a point to select the first point of the polyline. Now press the keyboard right arrow key
 ,
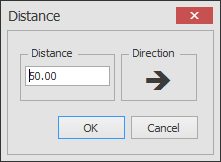
the distance input box appears as follows. Type in '50' and press
,
the distance input box appears as follows. Type in '50' and press
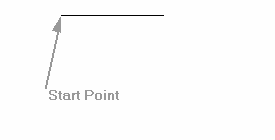
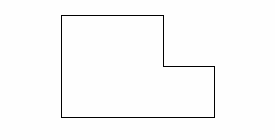
 or click 'OK'. The resulting 1st segment of the polyline is shown below.
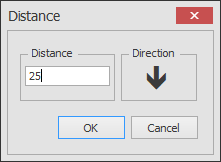
Press the down arrow key ,
type '25' and press
.
,
type '25' and press
.

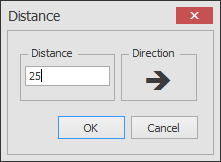
Press the right arrow key
, type '25' and press
.

Press the down arrow key,
type '25' and press
 .
.

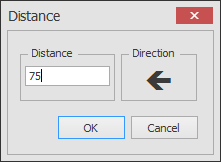
Press the left arrow key
![]() ,
type '75' and press
,
type '75' and press
![]() .
.
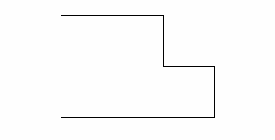
You can type 'c' to close the polyline in this case or you could continue the technique and press the up arrow key
 , type '50' and press
.
, type '50' and press
.
Arrow key input for Draft it Architectural
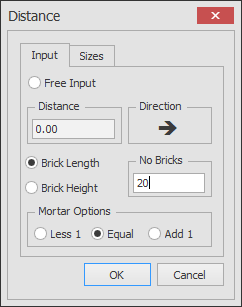
If you are using The Architectural version of Draft it then the arrow key input dialog box will look like the following image.
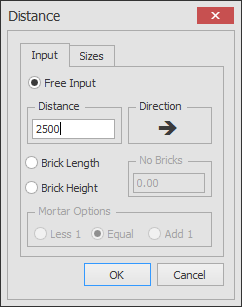
The basic operation remains as described above when the 'Free Input' option is selected. A number of additional options are available here. You can enter the required distance as units of brick length or height.
The 'Brick' dimensions are set via the 'Sizes' tab, click on this to change the dialog as follows.
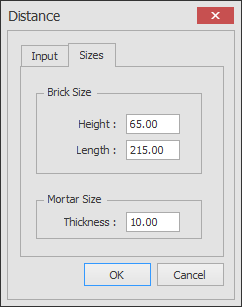
Here the required Brick height, length and mortar thickness can be set.
On the 'Input' tab, if you select the option 'Brick length' the number of brick lengths required can be set. So the following picture shows the number of bricks is '20', We have shown the 'Distance' with the correct calculated value** based on the settings above in the 'Sizes' tab. In this case the value is calculated as follows:- (215+10)*20. This is the brick length plus the mortar thickness multiplied by the number of bricks. The 'Mortar Options' can be used to adjust the 'Distance' by plus or minus one thickness of mortar as required.
** The value is calculated when the 'OK' button is picked, if you want to see the calculated value then simply hit the
 key.
key.
The Angle Lock feature is an alternative method to achieve the same results with similar ease.
Any questions?
Perhaps you need help deciding which of our CAD systems is right for you, or maybe you need to chat with us about our bespoke development service.
Don’t hesitate to get in touch. The Draft it team is dedicated to ensuring you get the best design experience on the market. Whatever you need - call us, email us – we’re here to help.
 +44 1543 419 886
 enquiries@cadlogic.com
 Postal Address Details